In the previous post, I installed Debian Linux on an old Dell laptop so that I could use its floppy drive and network connection to get files off the internet onto an ancient Apple Macintosh Quadra 700.
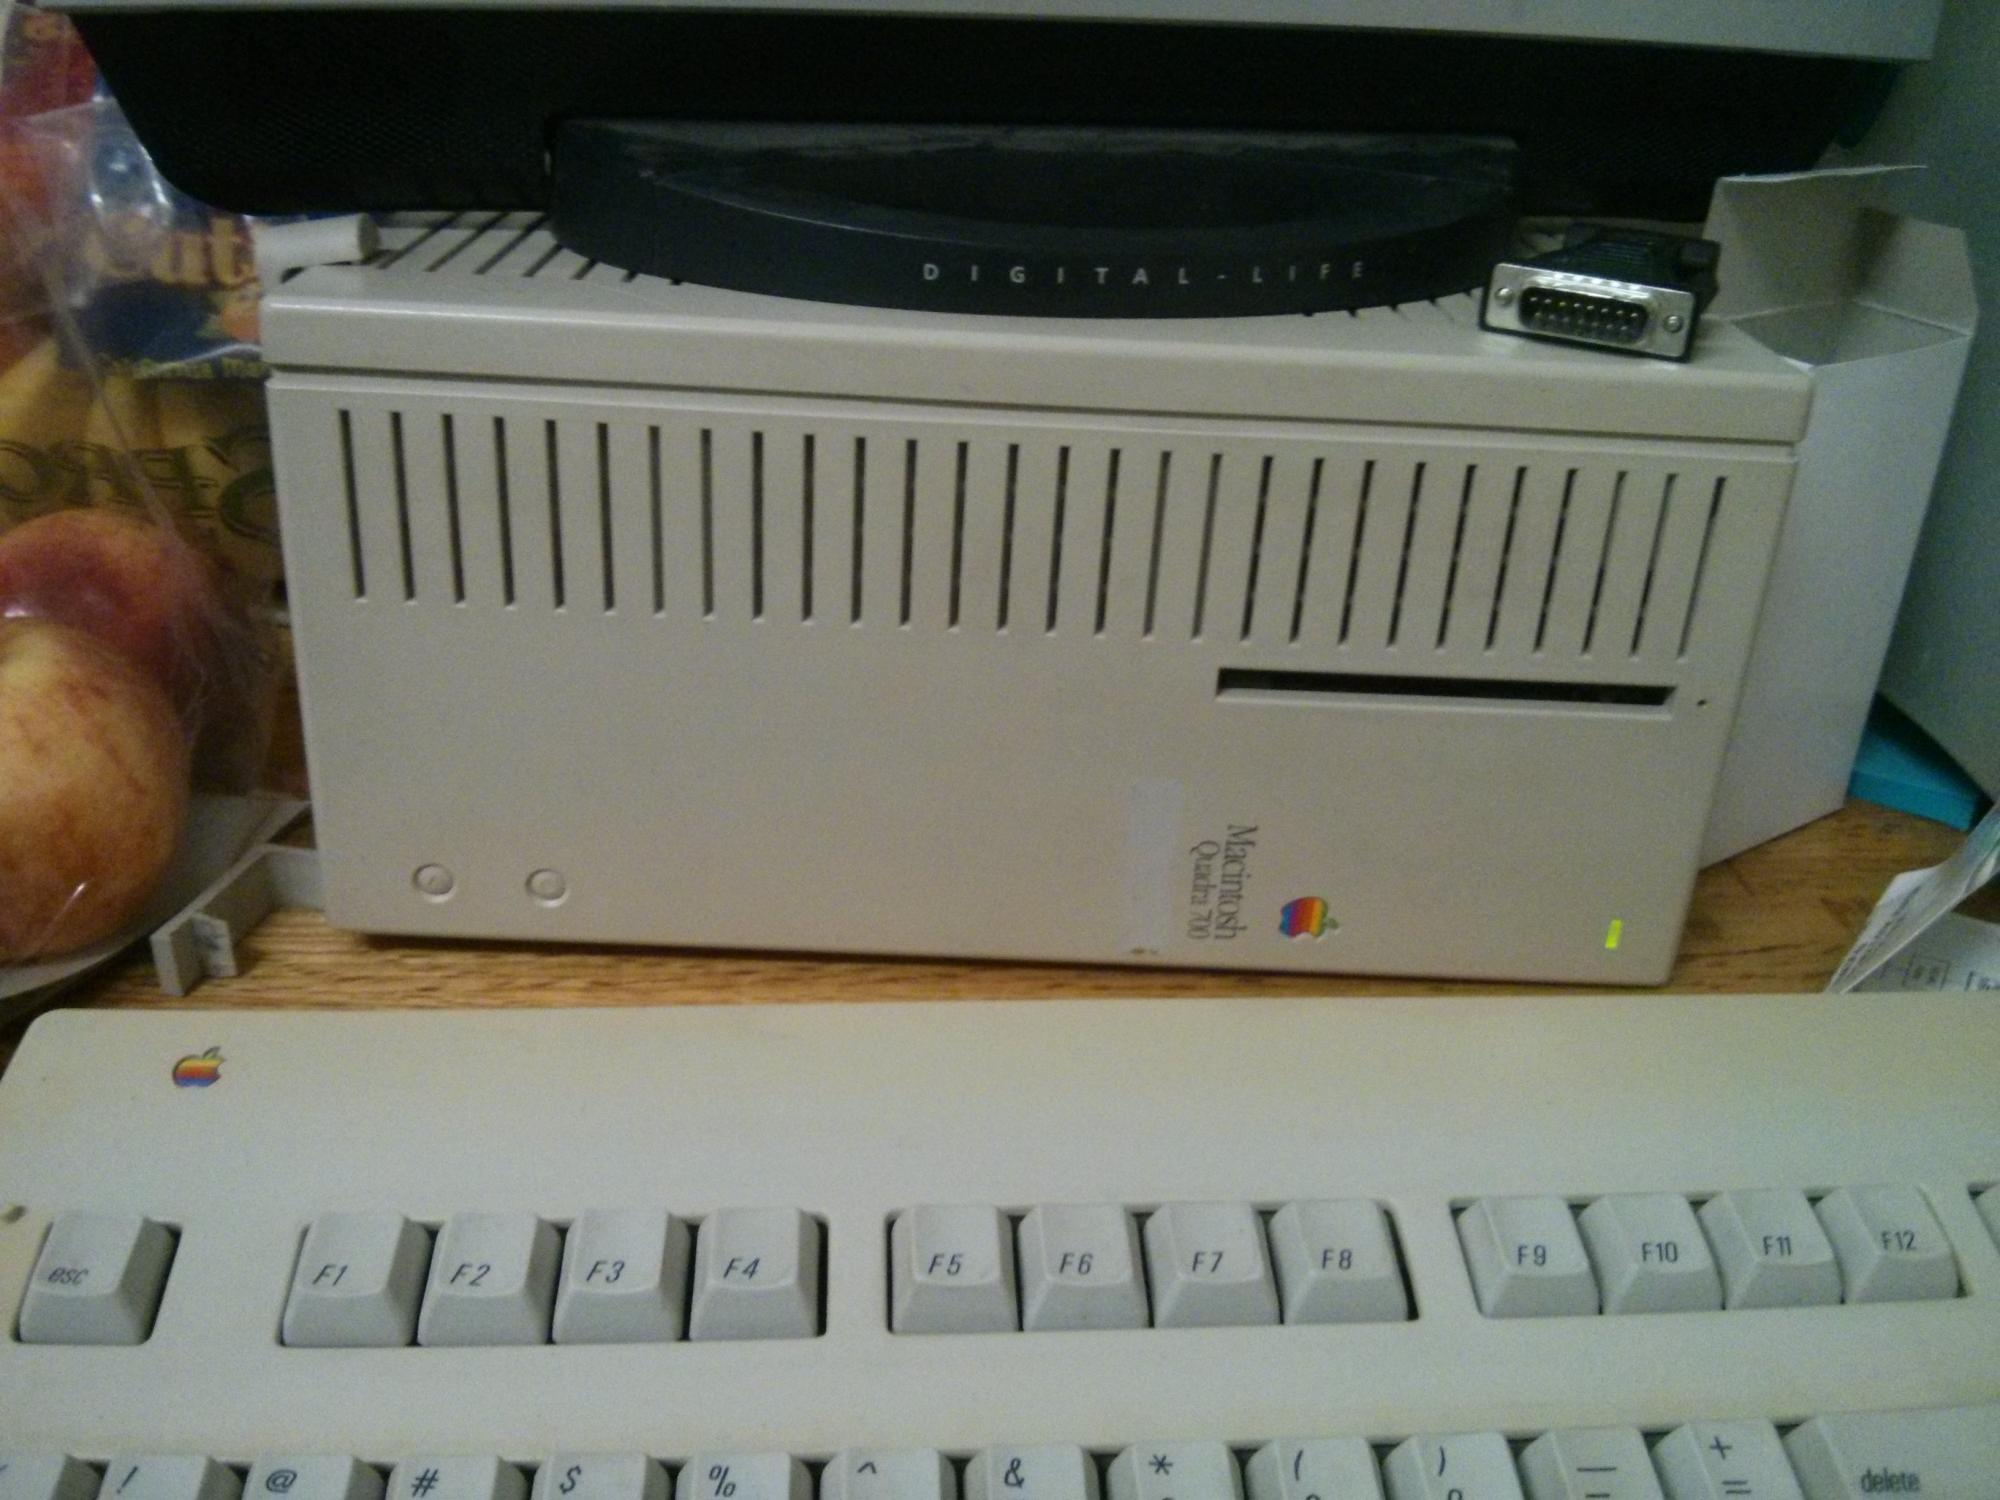
Macintosh Quadra 700. This machine was a top-of-the-line computer that cost $6000 in 1991.
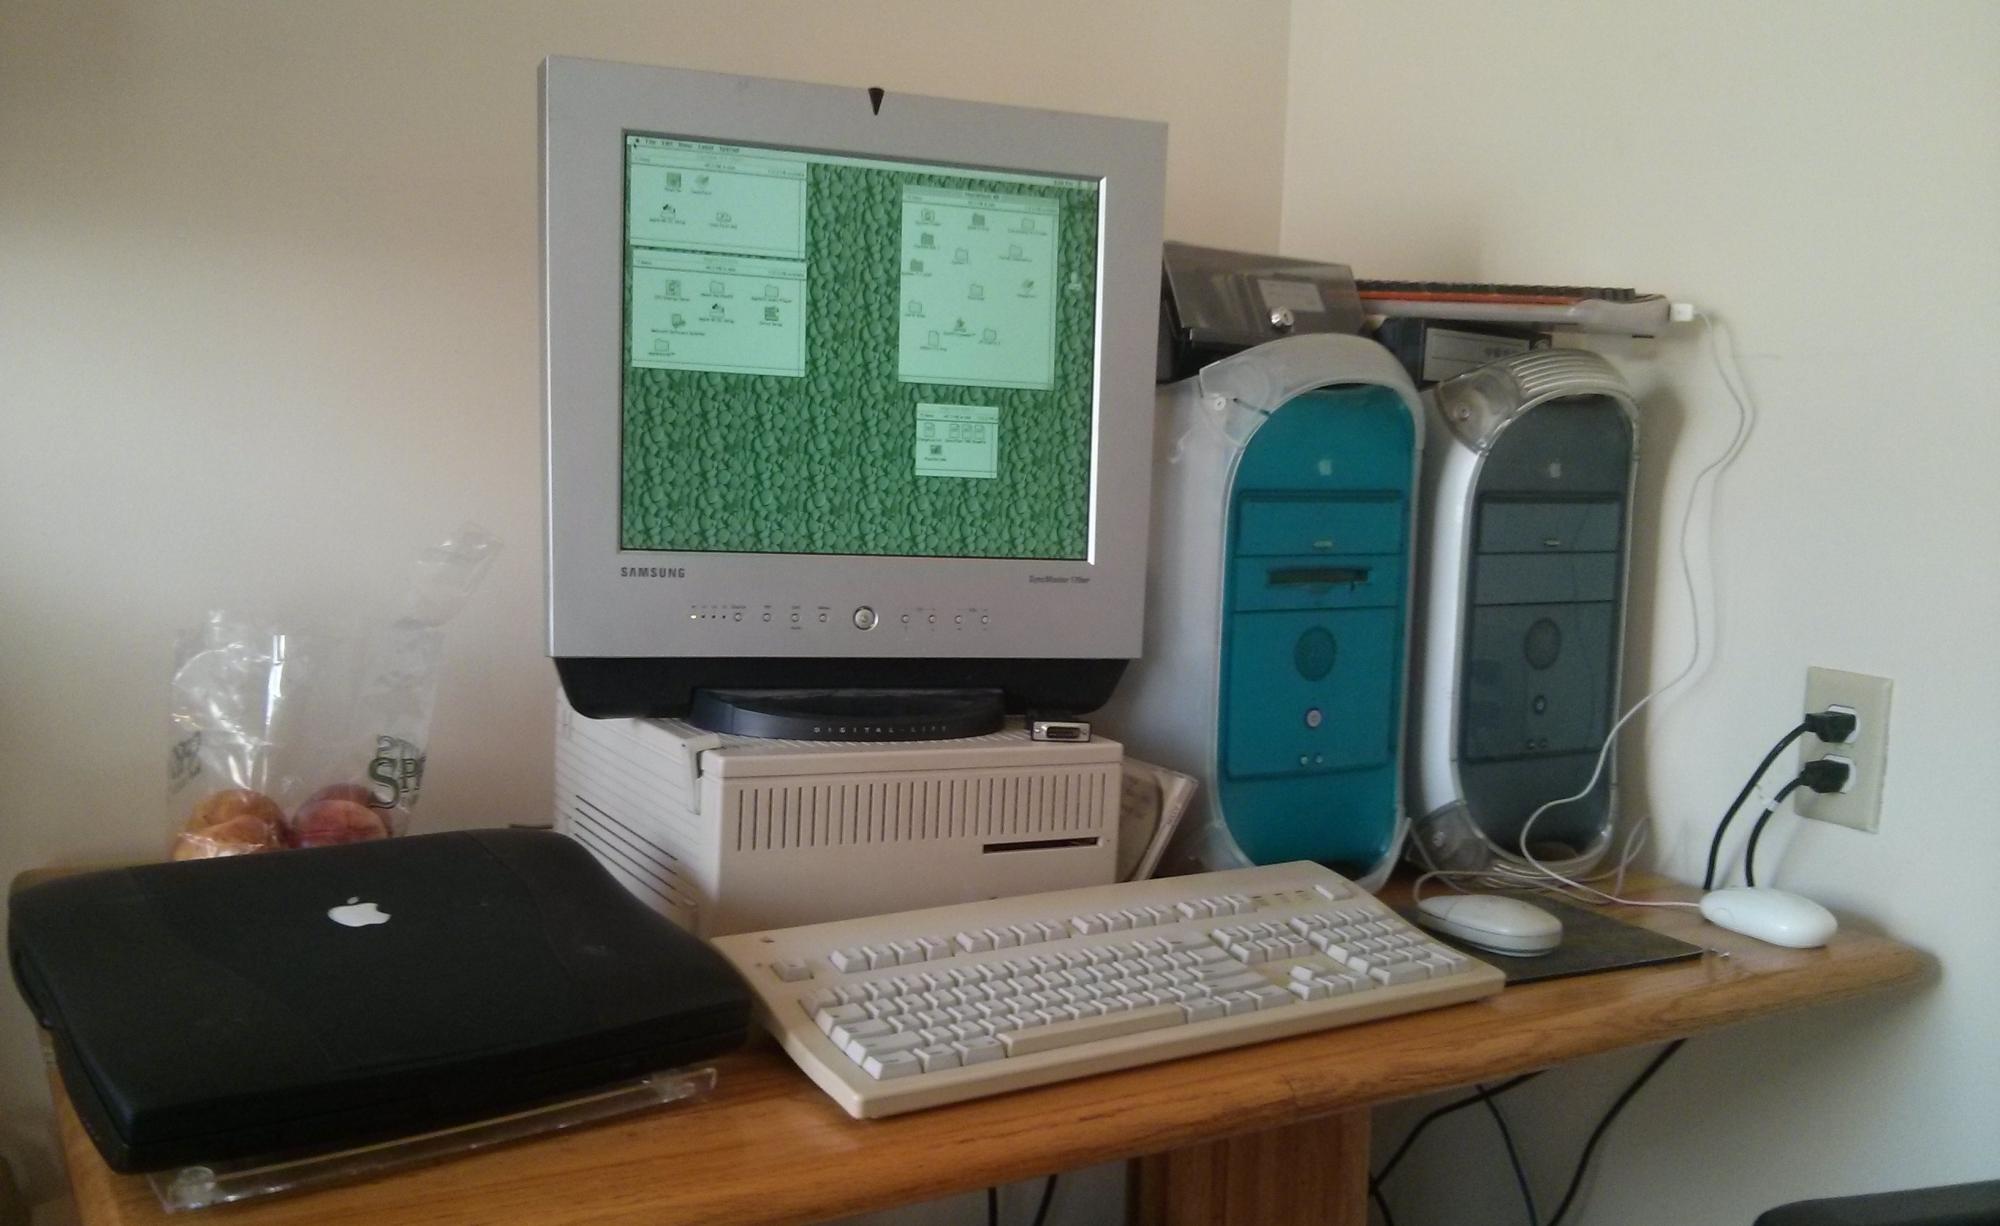
I got this old Mac from eBay for a price that is higher than I care to admit, especially for a computer that probably has less than 1/100th the processing power of the cell phone I used to take its picture.
The machine was worth it, in my opinion, because it came fully loaded with RAM and VRAM, (20MB and 4MB respectively) and has an original and working hard drive. The chassis and all of its connectors are in very good condition.
When I stopped in Part 1, the Zip and floppy drives were working and I was able to read and write to them from the Linux laptop. But I ran into a big problem that I had forgotten about after all these years. When copying from a UNIX file system to a Mac file system, the UNIX file system ignores the Resource Fork, a crucial part of the Mac’s executable files. Though Linux has the ability to mount, read, and write HFS file systems, it does not know how to handle this resource fork and only can copy the data fork.
There are utilities for doing this in Linux. In Debian, they can be installed with the Apt packages hfsprogs and hfsutils, but after several failed attempts, I gave up. I needed a different approach that did not require a UNIX file system as an intermediate step.
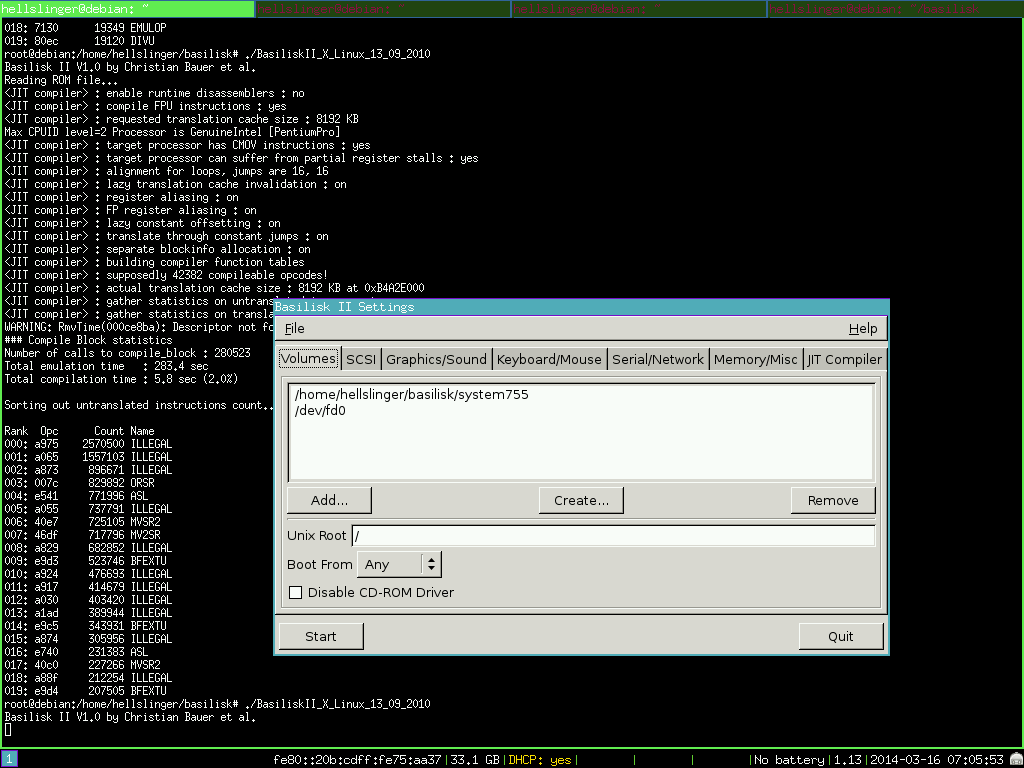
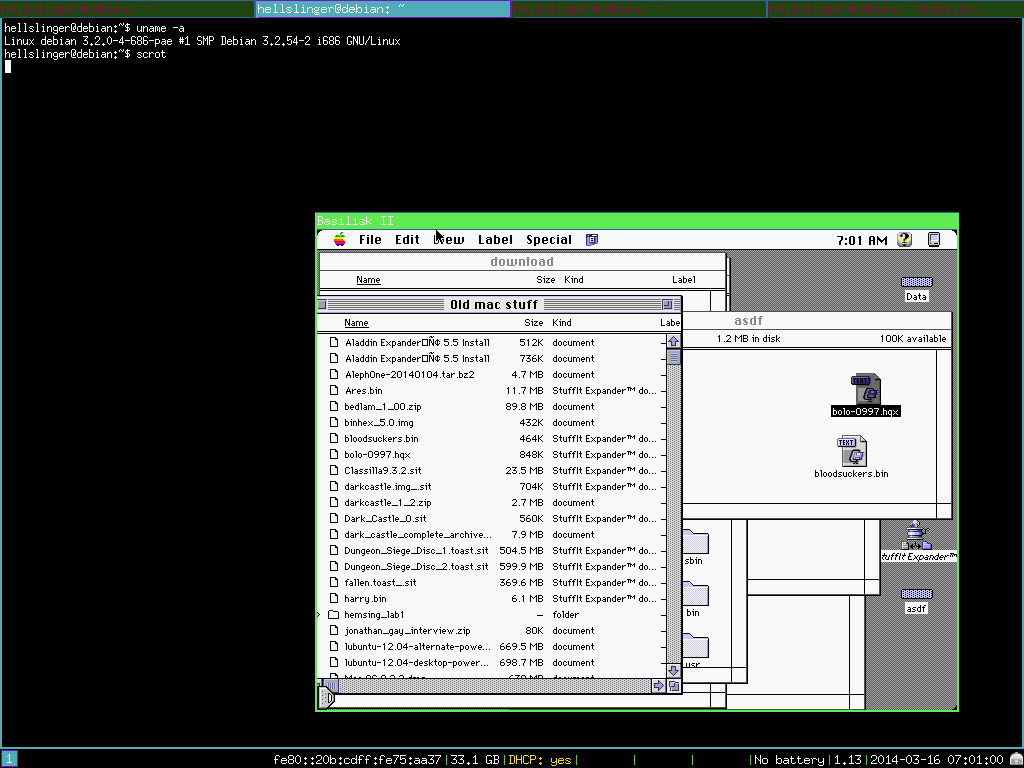
After many different tries and google searches that revealed nothing, I figured out the right approach. There is a classic Macintosh 68k CPU emulator called Basilisk II that uses a ROM from one of these old machines. It runs on Linux and the other OSes. From inside the emulator, I copied the downloaded files to the floppy drive which was mounted in the emulator at launch time.
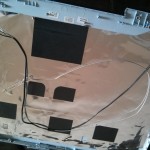
Adding the block device to Basilisk II’s settings for the floppy.
Figuring out how to mount the floppy drive was tricky because it had to be mounted in a way that bypassed the UNIX file system entirely. The solution is to add the block dev file, ‘/dev/fd0‘ to the list of volumes in the Basilisk II configuration window that appears at launch. For this to work, the floppy can not be mounted in Linux or with the linux HFS tools. Amazingly, Basilisk II knows exactly how to handle a raw block device like this.
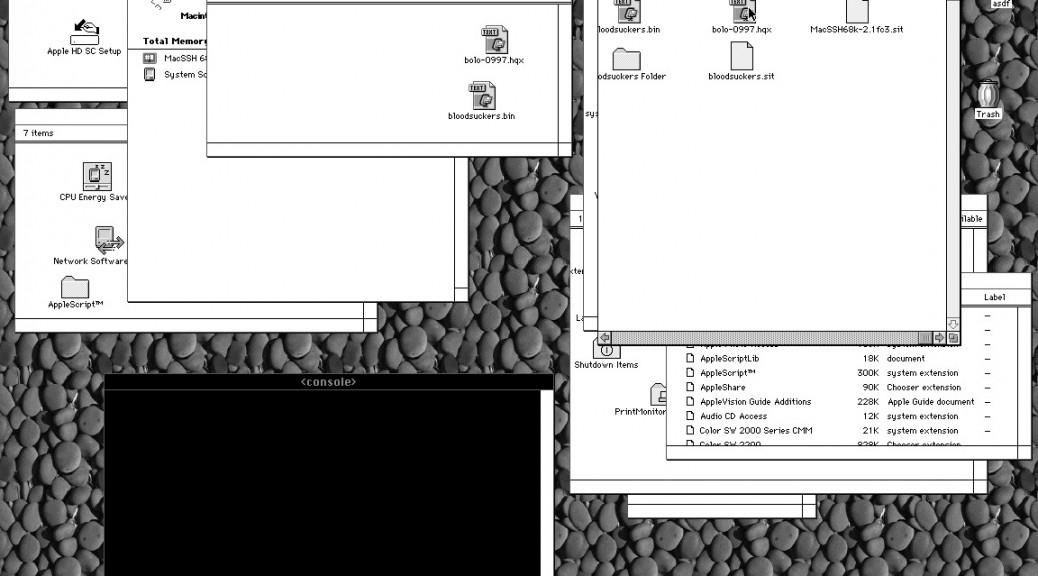
Running Basilisk II in Linux; emulating a Quadra 650; running System 7.5.5; and copying files to a physical floppy called ‘asdf’. This mounted floppy can be seen in the lower right of the emulator window.
The only drawback to this approach, which isn’t a big deal considering the other difficulties, is that I have to quit the emulator to swap out the floppy out, or else I would get file system errors that required me to reformat the floppy with the Quadra. The emulator treats the floppy block device like a non-removable hard drive rather than a removable floppy, so in order for changes to the file system to be updated correctly, the machine had to be Shut Down entirely.
That’s it! I was able to successfully copy 2 applications over to the Quadra that will be needed when I get my Ethernet transceiver, MacSSH 68k and Stuffit Expander 5.5. With these programs, the Quadra should be able to connect to other machines with its own Ethernet and copy files.
Mac OS 7.5.5 desktop booted on actual Quadra 700. Notice floppy ‘asdf’ is mounted.
At Innovation Plaza, we don’t just build circuits and solder PCBs, we also work with software — and that doesn’t mean we only write code or install Matlab on laptops — some of us like to engage in pointless nostalgia. This includes projects like getting classic video game console emulators running on a Raspberry Pi, making GPIO adapters for the accompanying controllers, collecting classic Macintosh hardware, or running linux on hardware that can barely surf the modern web. There will be more posts regarding the video game emulators and pointless Linux installations later.
The reason for this post comes from creating a way to download classic Macintosh software from abandonware sites using a modern computer, copying it over the network to an intermediate computer that can write to a medium readable by the classic machine. This is more difficult than it sounds.
Why bother? Good question. And, it’s a question I ask repeatedly while I’m wasting time on this when I’m supposed to be doing homework. It’s fun, and I have serious nostalgia with this Macintosh Quadra 700 (25 MHz 68040) as it was the first powerful computer I was ever able to call my own. Surely, any geek or nerd has a similar memory of finally getting that device that could do things we had only read about previously.
15 year old Dell Inspiron 2500 booting Debian Linux for the first time.
For today’s post, I will be discussing installing Debian Linux 7.4 (Wheezy) on a Dell Inspiron 2500 (900 MHz Coppermine Celeron) circa 1999. This old Dell laptop has a floppy drive, a CD drive, a Parallel Port, and an RS232 port all built in, and because of this, it serves as a bridge to my classic Macintoshes that have only a floppy drive and have a SCSI Iomega Zip drive. It does not have an Ethernet adapter, but it does have a Mini-PCI slot for a WiFi card from another laptop, a newer, dead HP.
My modern desktop machine is an Intel based system running Ubuntu and it is the machine I’m writing this post on. It does not have any of the connections needed to communicate with this old Mac. It does NOT have a serial port, parallel port, zip drive, or floppy drive. So the bridge to this old Dell Laptop from downloaded internet software is a network connection. I could have run a web browser on this old Dell if I needed to, but it only has 128MB of RAM so surfing the web is painful. The files are served to this Dell from the modern PC over samba which works beautifully and can be done from the command line.
The Quadra can connect over Ethernet with a transceiver (I ordered one from eBay, but it hasn’t arrived yet). However, even with an Ethernet connection, its operating system does not support communication over NFS, Samba, or SSH without 3rd party software. There is an SSH client for 68k Mac, and I will copy it over with a floppy.
To recap, here is the path I need to build to get files to my Macintosh Quadra 700.
Internet -> Modern PC -> Old Dell -> (floppy/Zip) -> Macintosh Quadra
So, back to the old Dell. The first step is downloading a CD image of Debian netinst, which is a lightweight cd image that only installs the bare minimum to be able to boot linux and connect to the network.
To boot Linux on the Dell, I had to tell the Kernel to disable ACPI, which is done by passing ‘acpi=off’ to the kernel boot arguments. Otherwise it would hang. Additionally, the video card on this machine didn’t support the default menu resolution, so I also had to pass ‘vga=normal’ in the boot options.
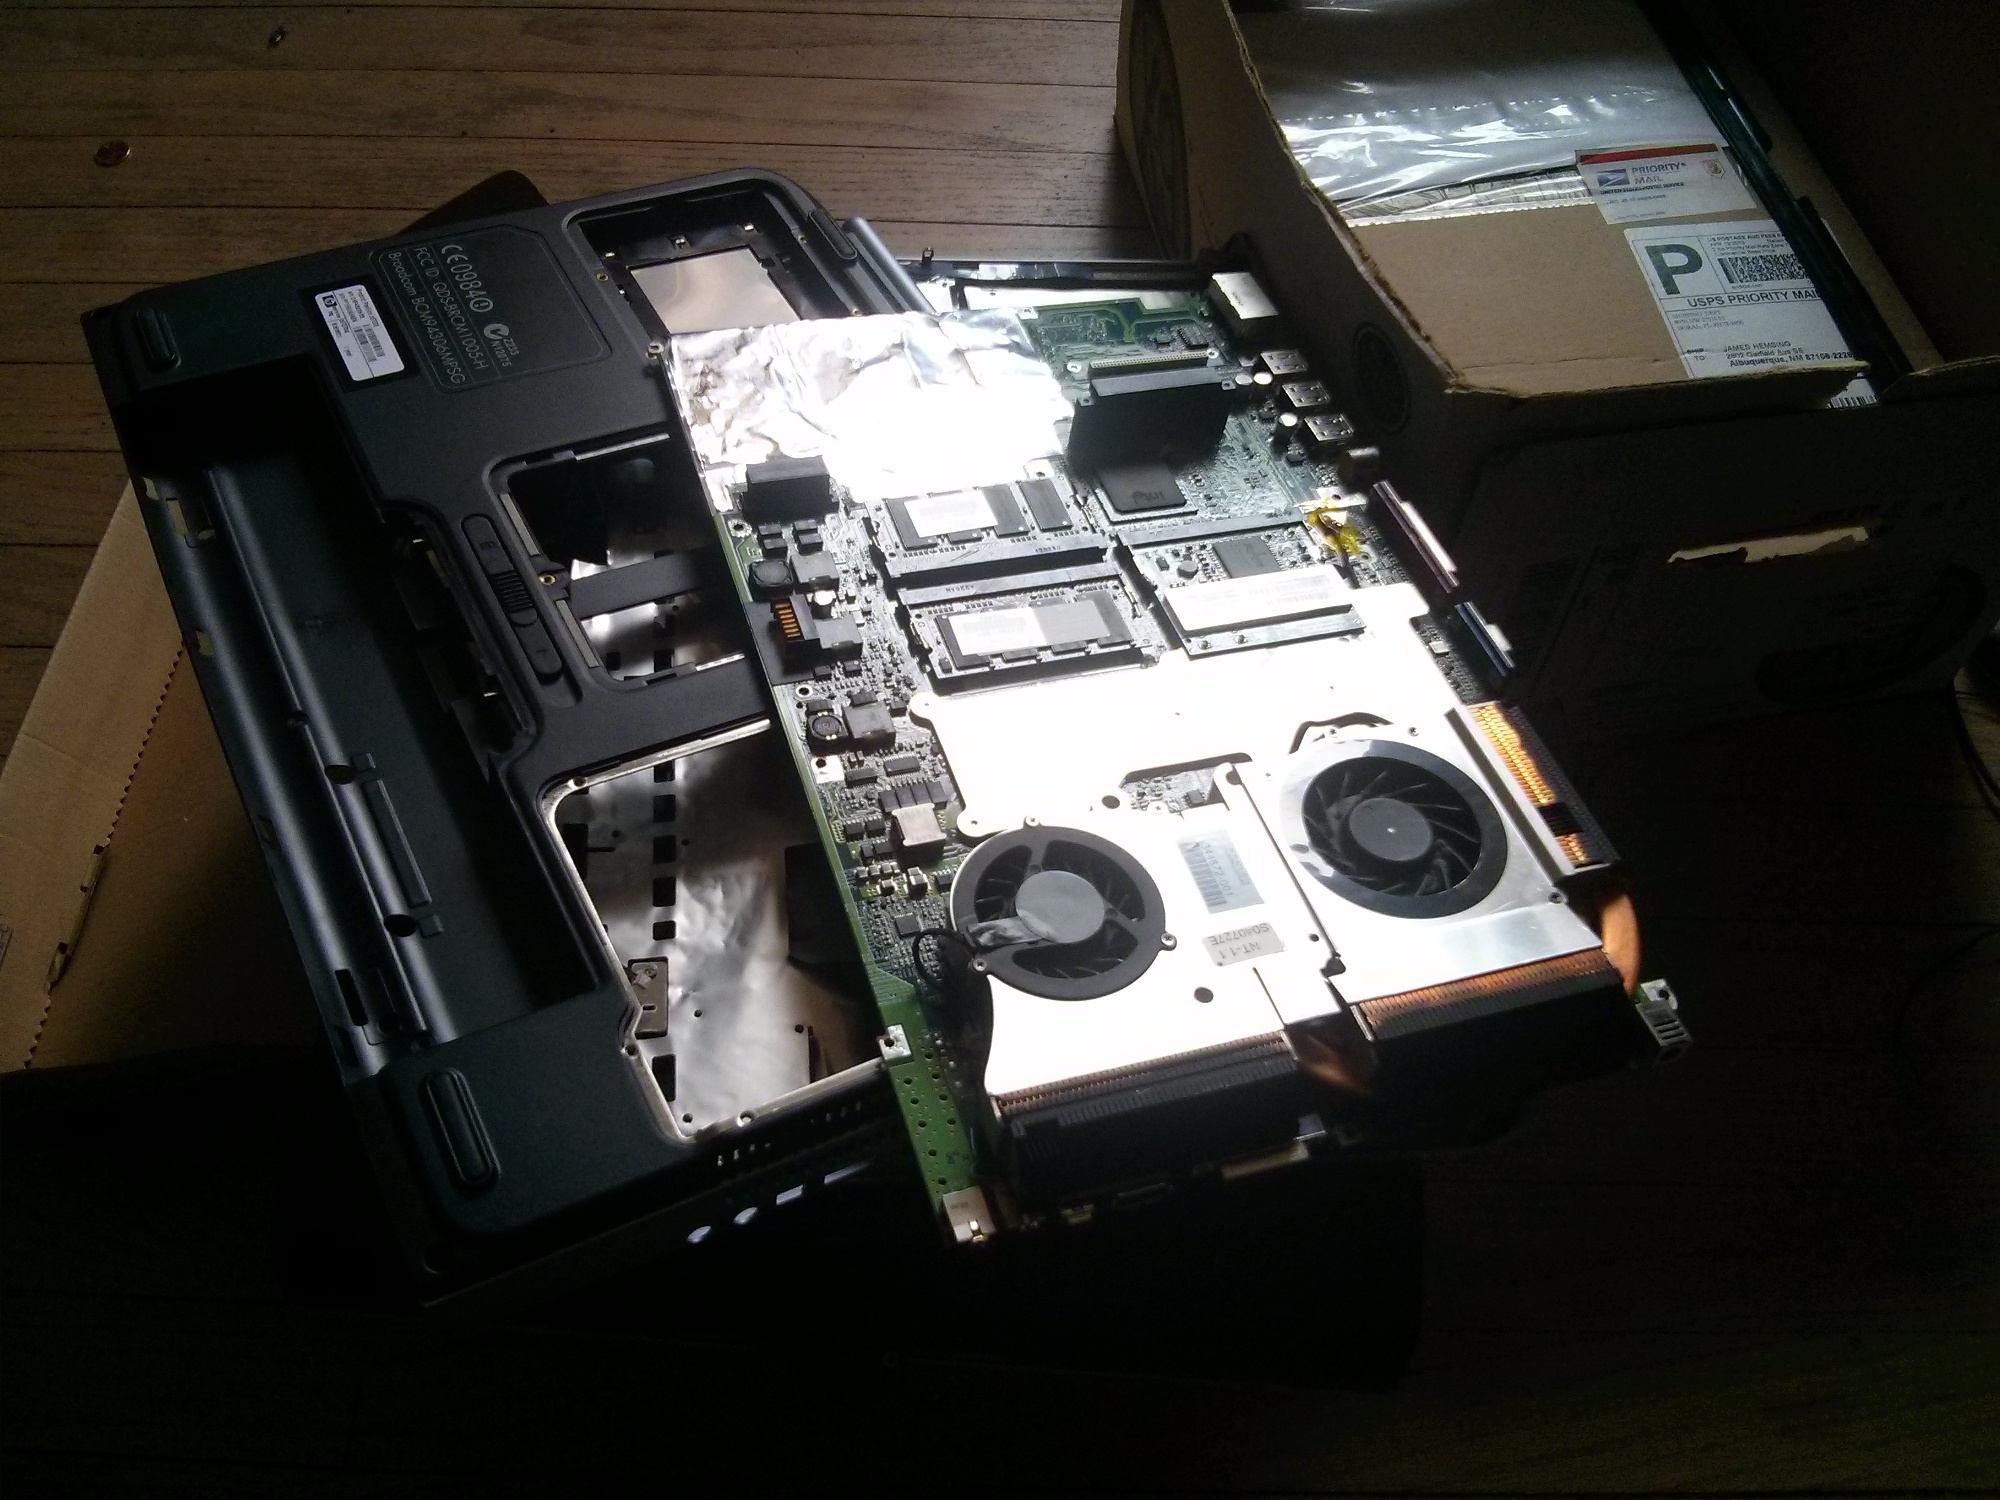
This machine didn’t have a hard drive, so I took the wireless card and antenna from the dead HP. I was fortunate to have a pile of old broken systems that had the right parts to make a good one for this project.
HP/Compaq Pentium 4 laptop. Notice the dual fans and large heatsinks which weren’t enough to keep this monster from cooking itself to death.
The old Dell has an Ethernet connector on the side, but no Ethernet card… (thanks, Dell), so the installer had to be told not to try to download anything and just complete the install. The install went smoothly, and the machine booted, but it didn’t get everything it needed to connect with the Wireless card. Like I did with the installer, I had to change the GRUB boot config file, /etc/default/grub, to pass ‘acpi=off’ to kernel. Then run ‘update-grub’ to update the bootloader with these changes.
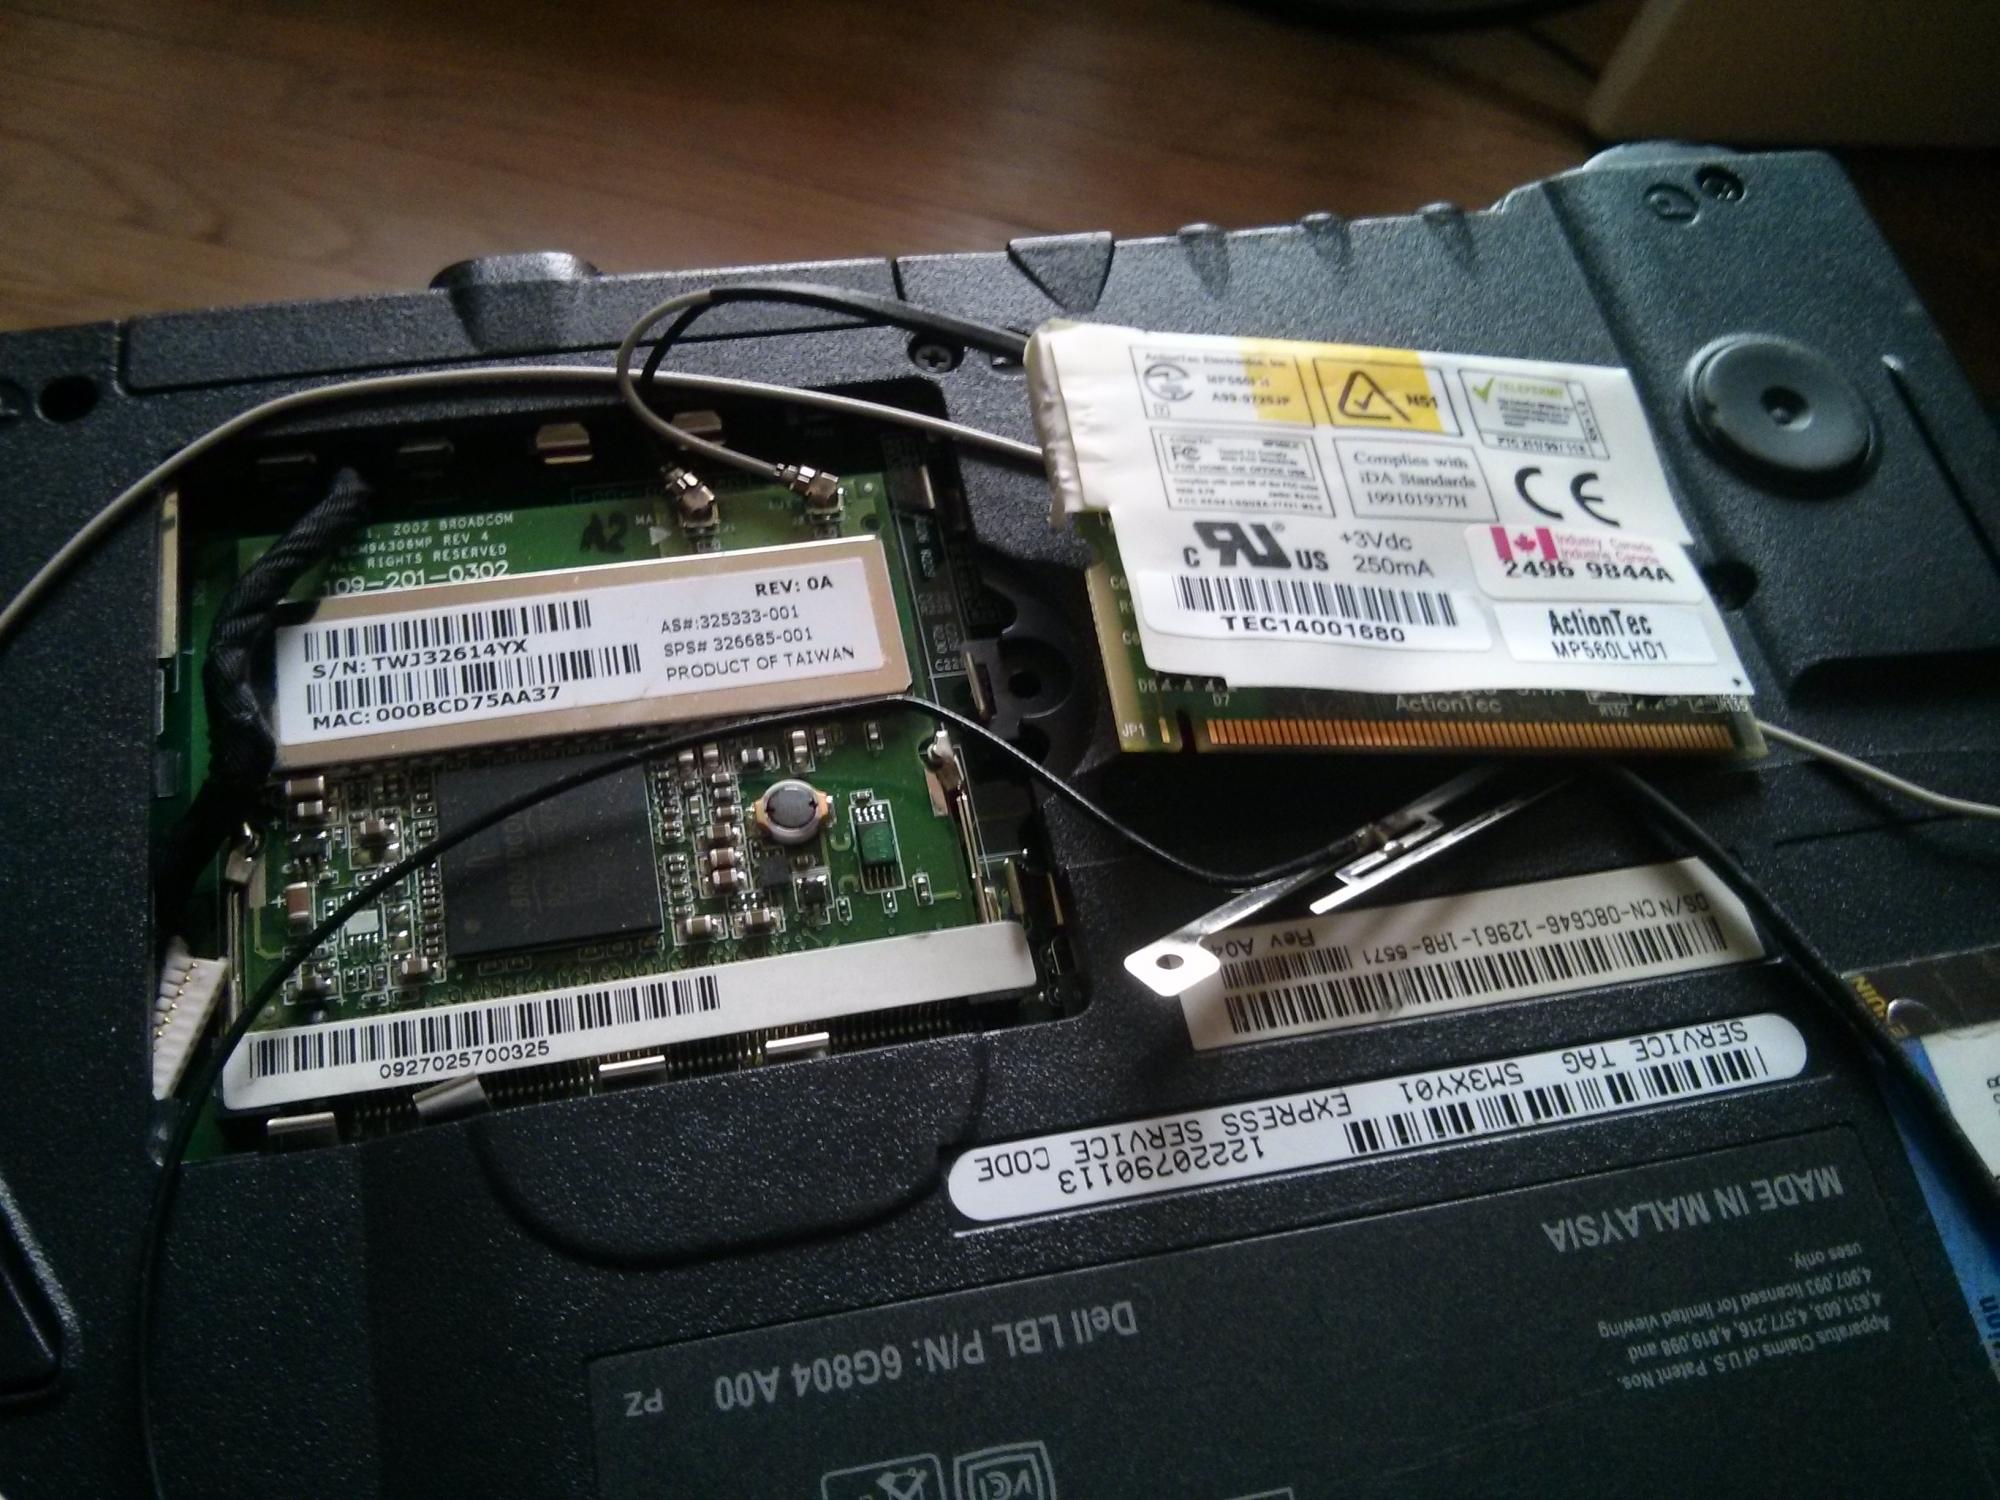
The Mini-PCI card that was already there was an old ActionTec 56K modem. I replaced this with the Broadcom BCM4306 Wireless ethernet card. Notice there are antenna connections on this board, but there is no antenna in this chassis.
On the left is the Wireless card I yanked from the HP. On the right is the 56K modem that was in the slot. I was pretty lucky to have two laptops from the same era so that I could make the system I needed for this project.
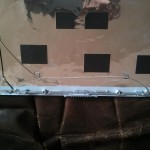
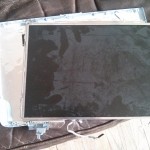
For the antenna, I took the wireless antenna out of the dead HP. The antenna is in the screen module, so I removed the screen and took the antenna out. For now, I will connect the antenna and let it dangle off to the side, but I will figure out a better way to hide this antenna in the chassis. Before I do this, I want to make sure everything else works.
Antenna removed
Antenna guides along screen chassis
Removing wireless antenna
The next part is a bit laborious. I need to get this machine on the network. Because the wireless card didn’t have native linux drivers, I had to download the firmware and accompanying installer utility (b43-fwcutter) on the modern PC, compile it for the old machine (gcc -m32), copy it over using a USB flash drive, and then install and configure wireless manually on the command line.
Configuring the wireless on the command line is the best option because using a GUI requires downloading and copying a lot more files over the thumb drive. To do this isn’t hard, but it takes a few steps:
Download and install the .deb files needed, wpasupplicant and wireless-tools, and all of their dependencies.
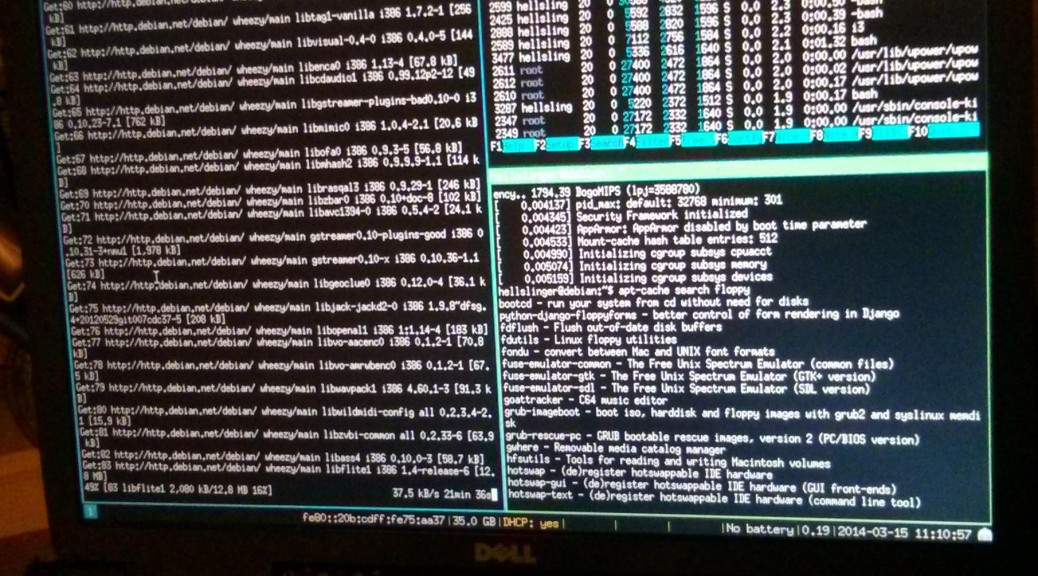
Add the standard debian mirrors to your /etc/sources.list file, then do apt-get update. If the wireless connection is working, the modern PC is no longer needed to copy any files over with a thumb drive. Progress!
A note about web browsers: For an old machine, I’ve discovered that Firefox is really, really slow. Instead I use midori or chromium-browser, based on the webkit framework, and the basis for google-chrome, is completely open-source and light-weight. The performance and security of bare-bones debian + chromium on a 15-year-old computer is surprisingly good, far better than any commercial operating system of any era on this hardware. If it had even a little bit more RAM I would have been able to browse the web without having to constantly swap to disk
Great, I’m on the network now, and should soon be able to copy files to the Zip drive or a floppy. There is no /dev/fd0 or /dev/fd1 by default on this version of Debian. As root, if I run ‘modprobe floppy’, the floppy device /dev/fd0 appears and I can’t mount a floppy drive. For those who don’t know what modprobe does, it tells the kernel to load a drive module. If the hardware is present, the module loads successfully and the devices are created by the udev subsystem.
The Zip drive is a bit more complicated. After searching some 5+ year old forum posts, I found out that several modules must be loaded in order to access this ancient piece of storage hardware. The modules are: ppa, parport, parport_pc. As soon as the last module was added, the busy light on the zip drive began to flash and the drive was now accessible as a SCSI emulated device on /dev/sdb.
The old Mac does not have a parallel port, but has an external SCSI connector which was common for nearly all Macintosh computers from the Macintosh Plus (ca. 1986) to what is now called “Old World” G3 PowerMacintosh (Beige) computers in 1998. When the Zip drives were introduced, they came in both Parallel and SCSI flavors, and I have one of each. I didn’t have a power supply for these drives, but with the help of Ryan Fenn, who found the right power supply and connector to make this work. Rumor has it that he has excellent soldering skills too.
I now have the ability to read and write to the two media that the Quadra can, so I’m almost done bridging the gap between my modern internet connected systems and this 23 year old Macintosh. I soon discovered, though, copying the files over in a way that the old system can recognize is another big hurdle.
In Part 2 of giving life to old computers, I will go through the steps I took to copy files over to the Quadra so that it was able to recognize them.
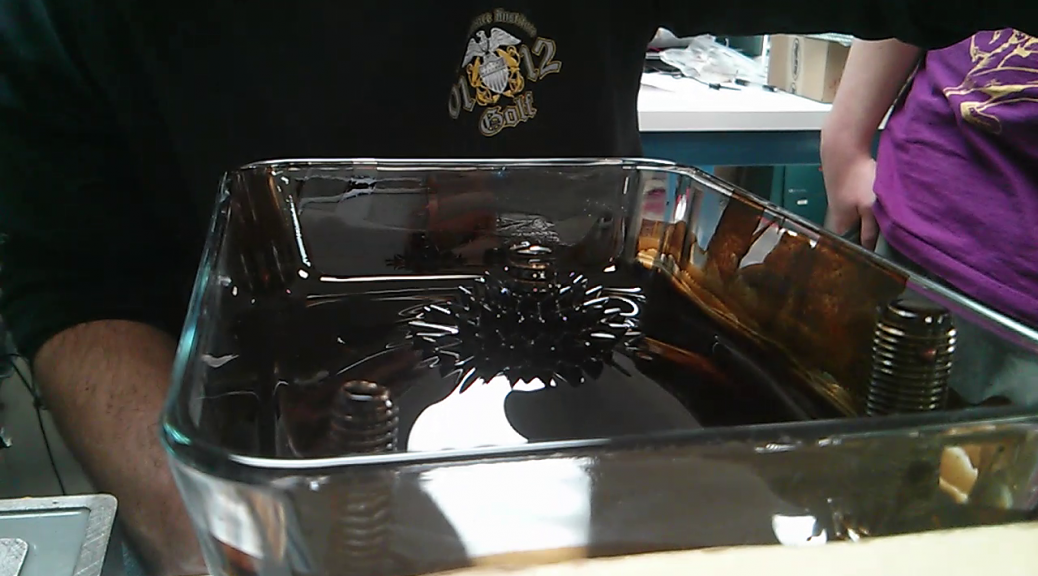
Justin Johnston demonstrates the behavior of Ferrofluid when placed near a Variac, also known as an autotransformer. The oscillating magnetic field created by the Variac arranges the fluid, and the spines extend in the direction of field lines.
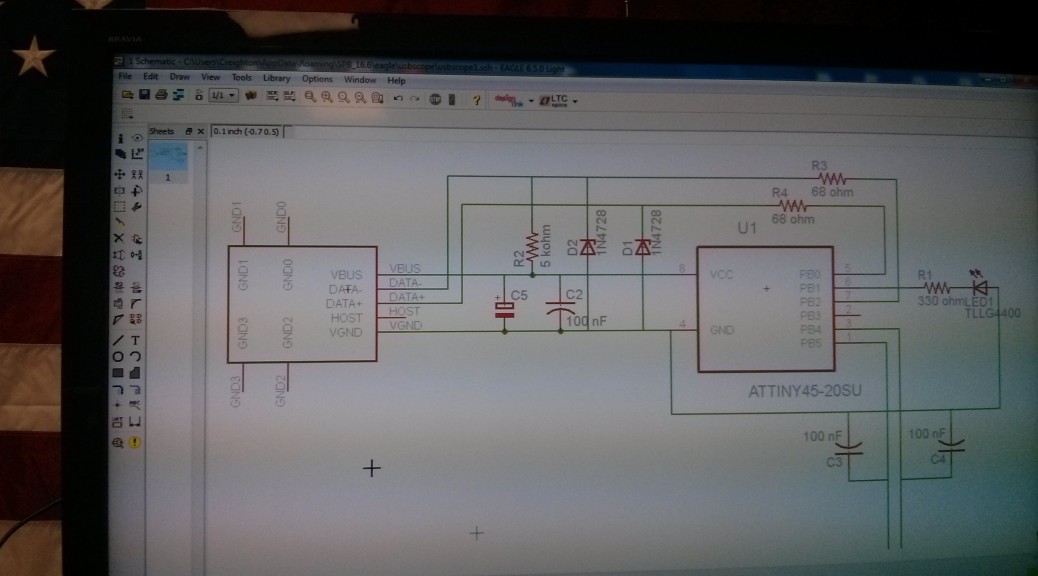
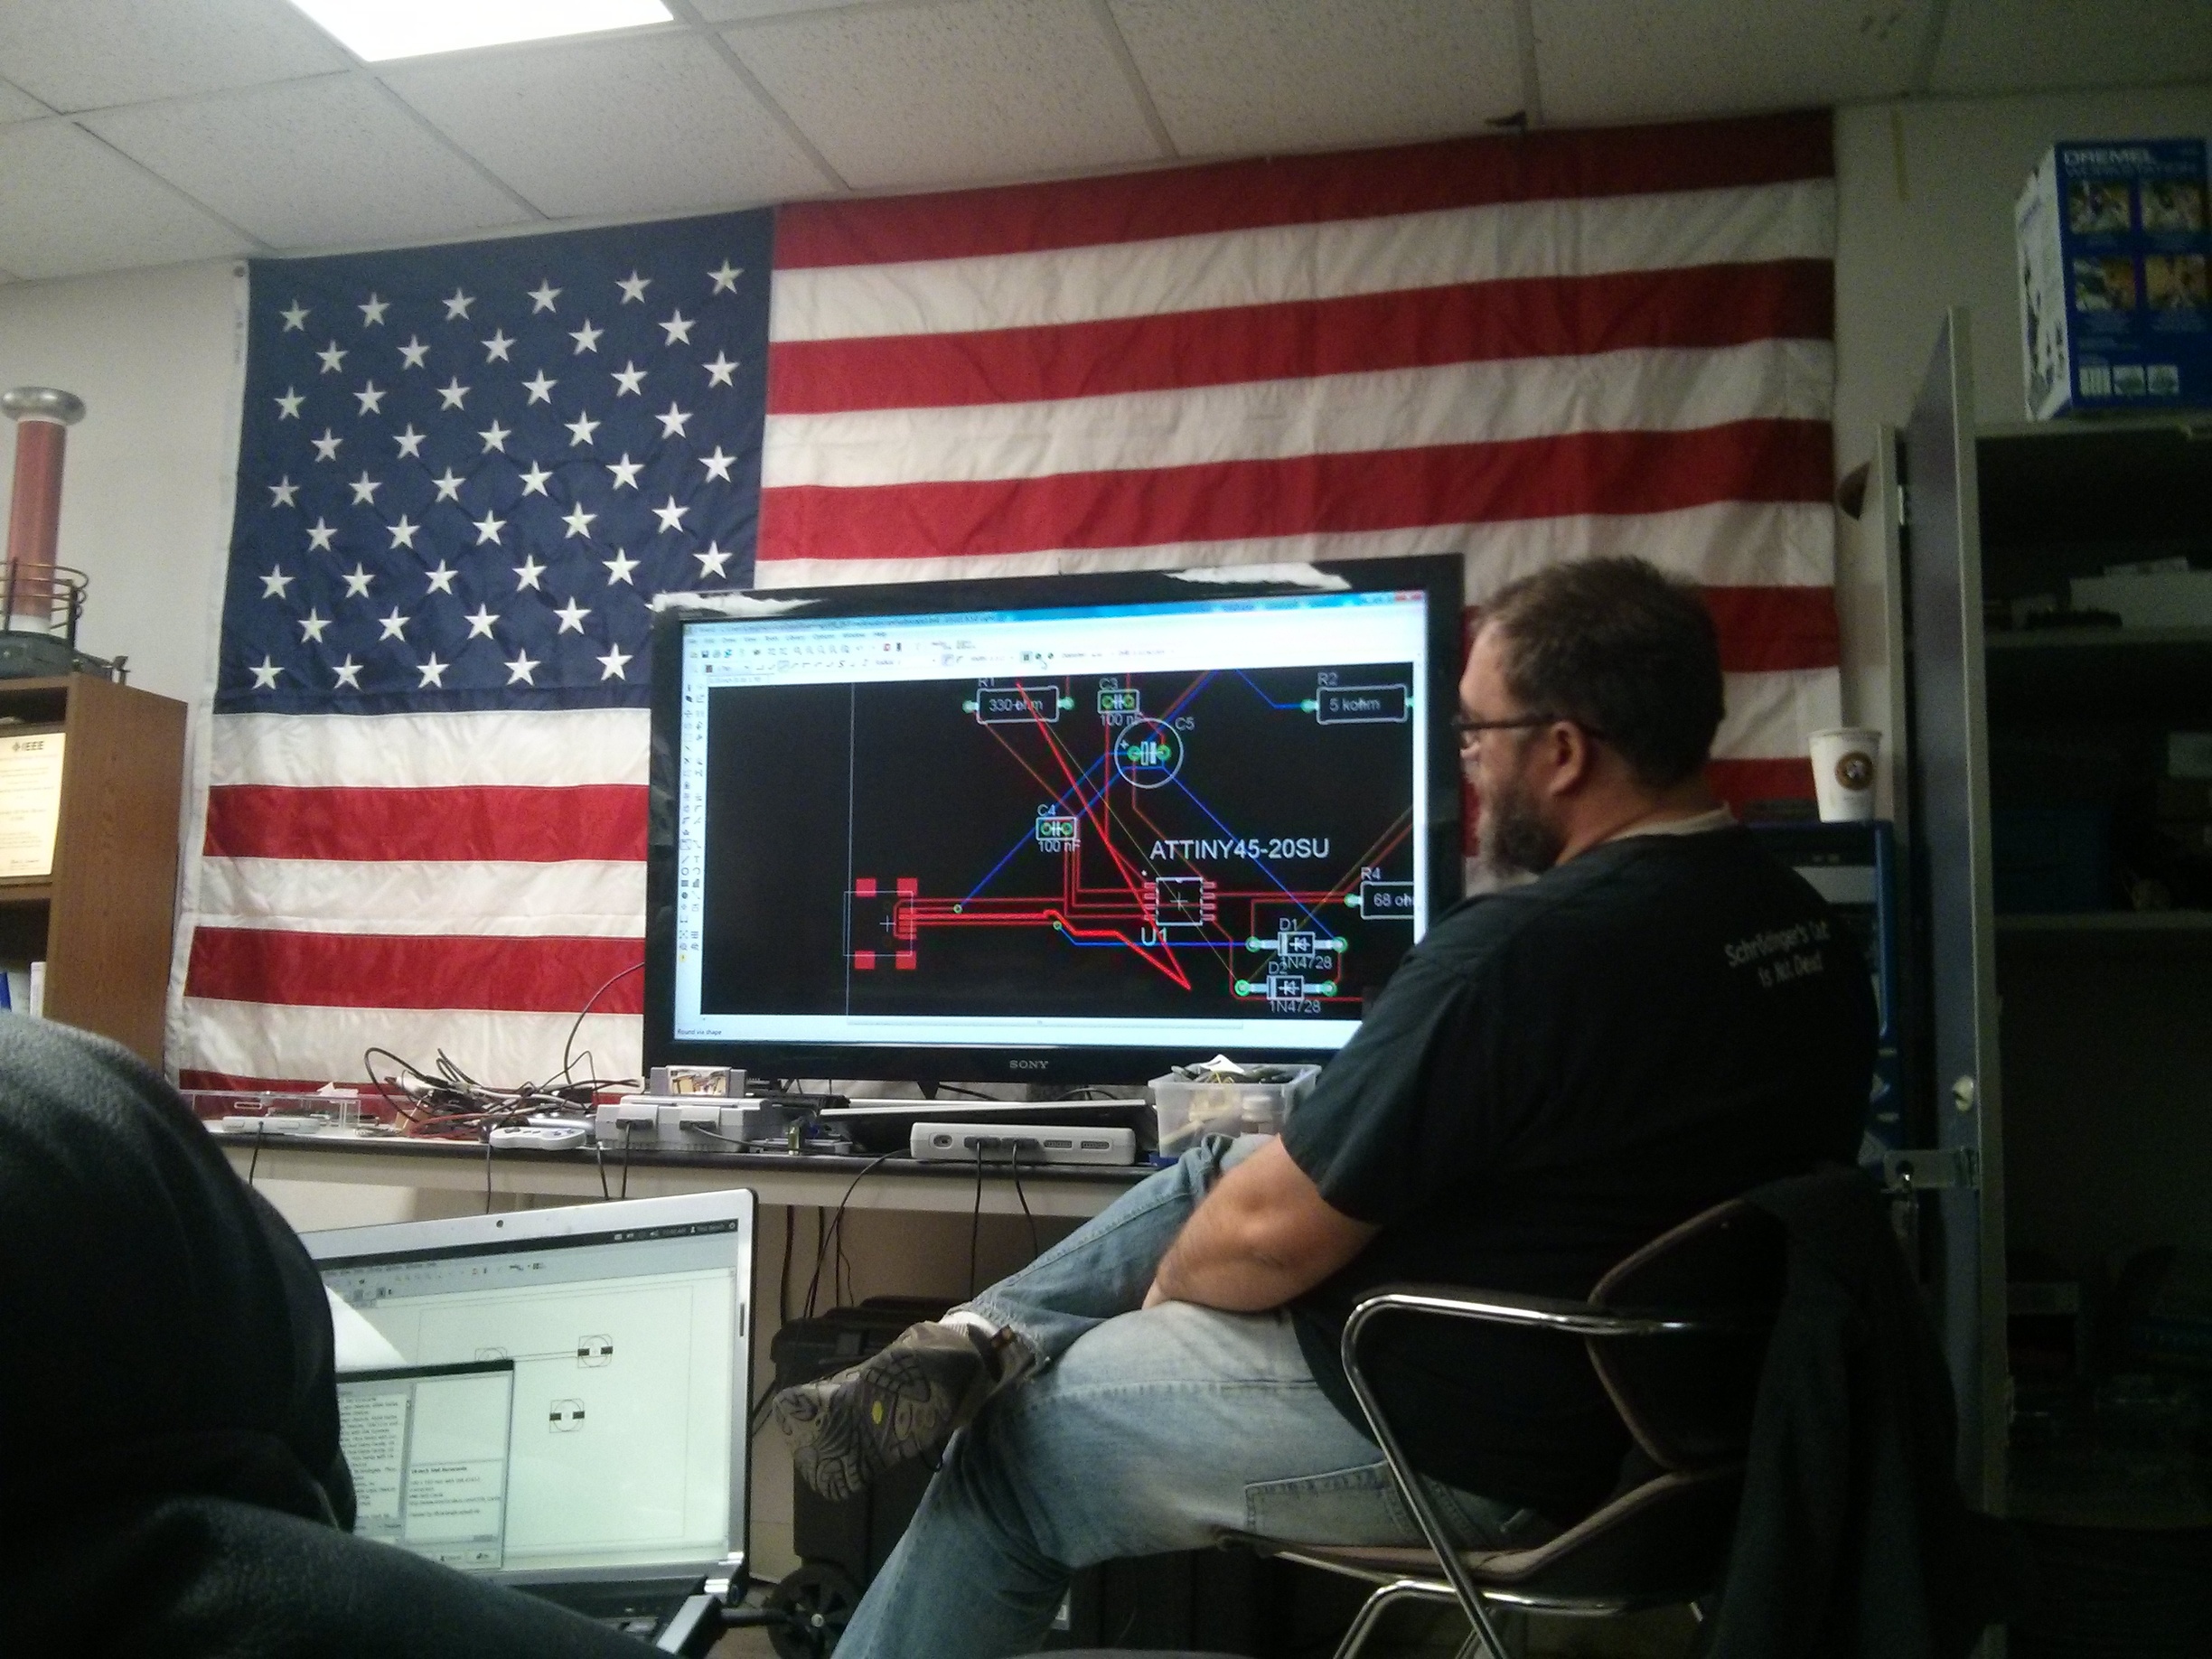
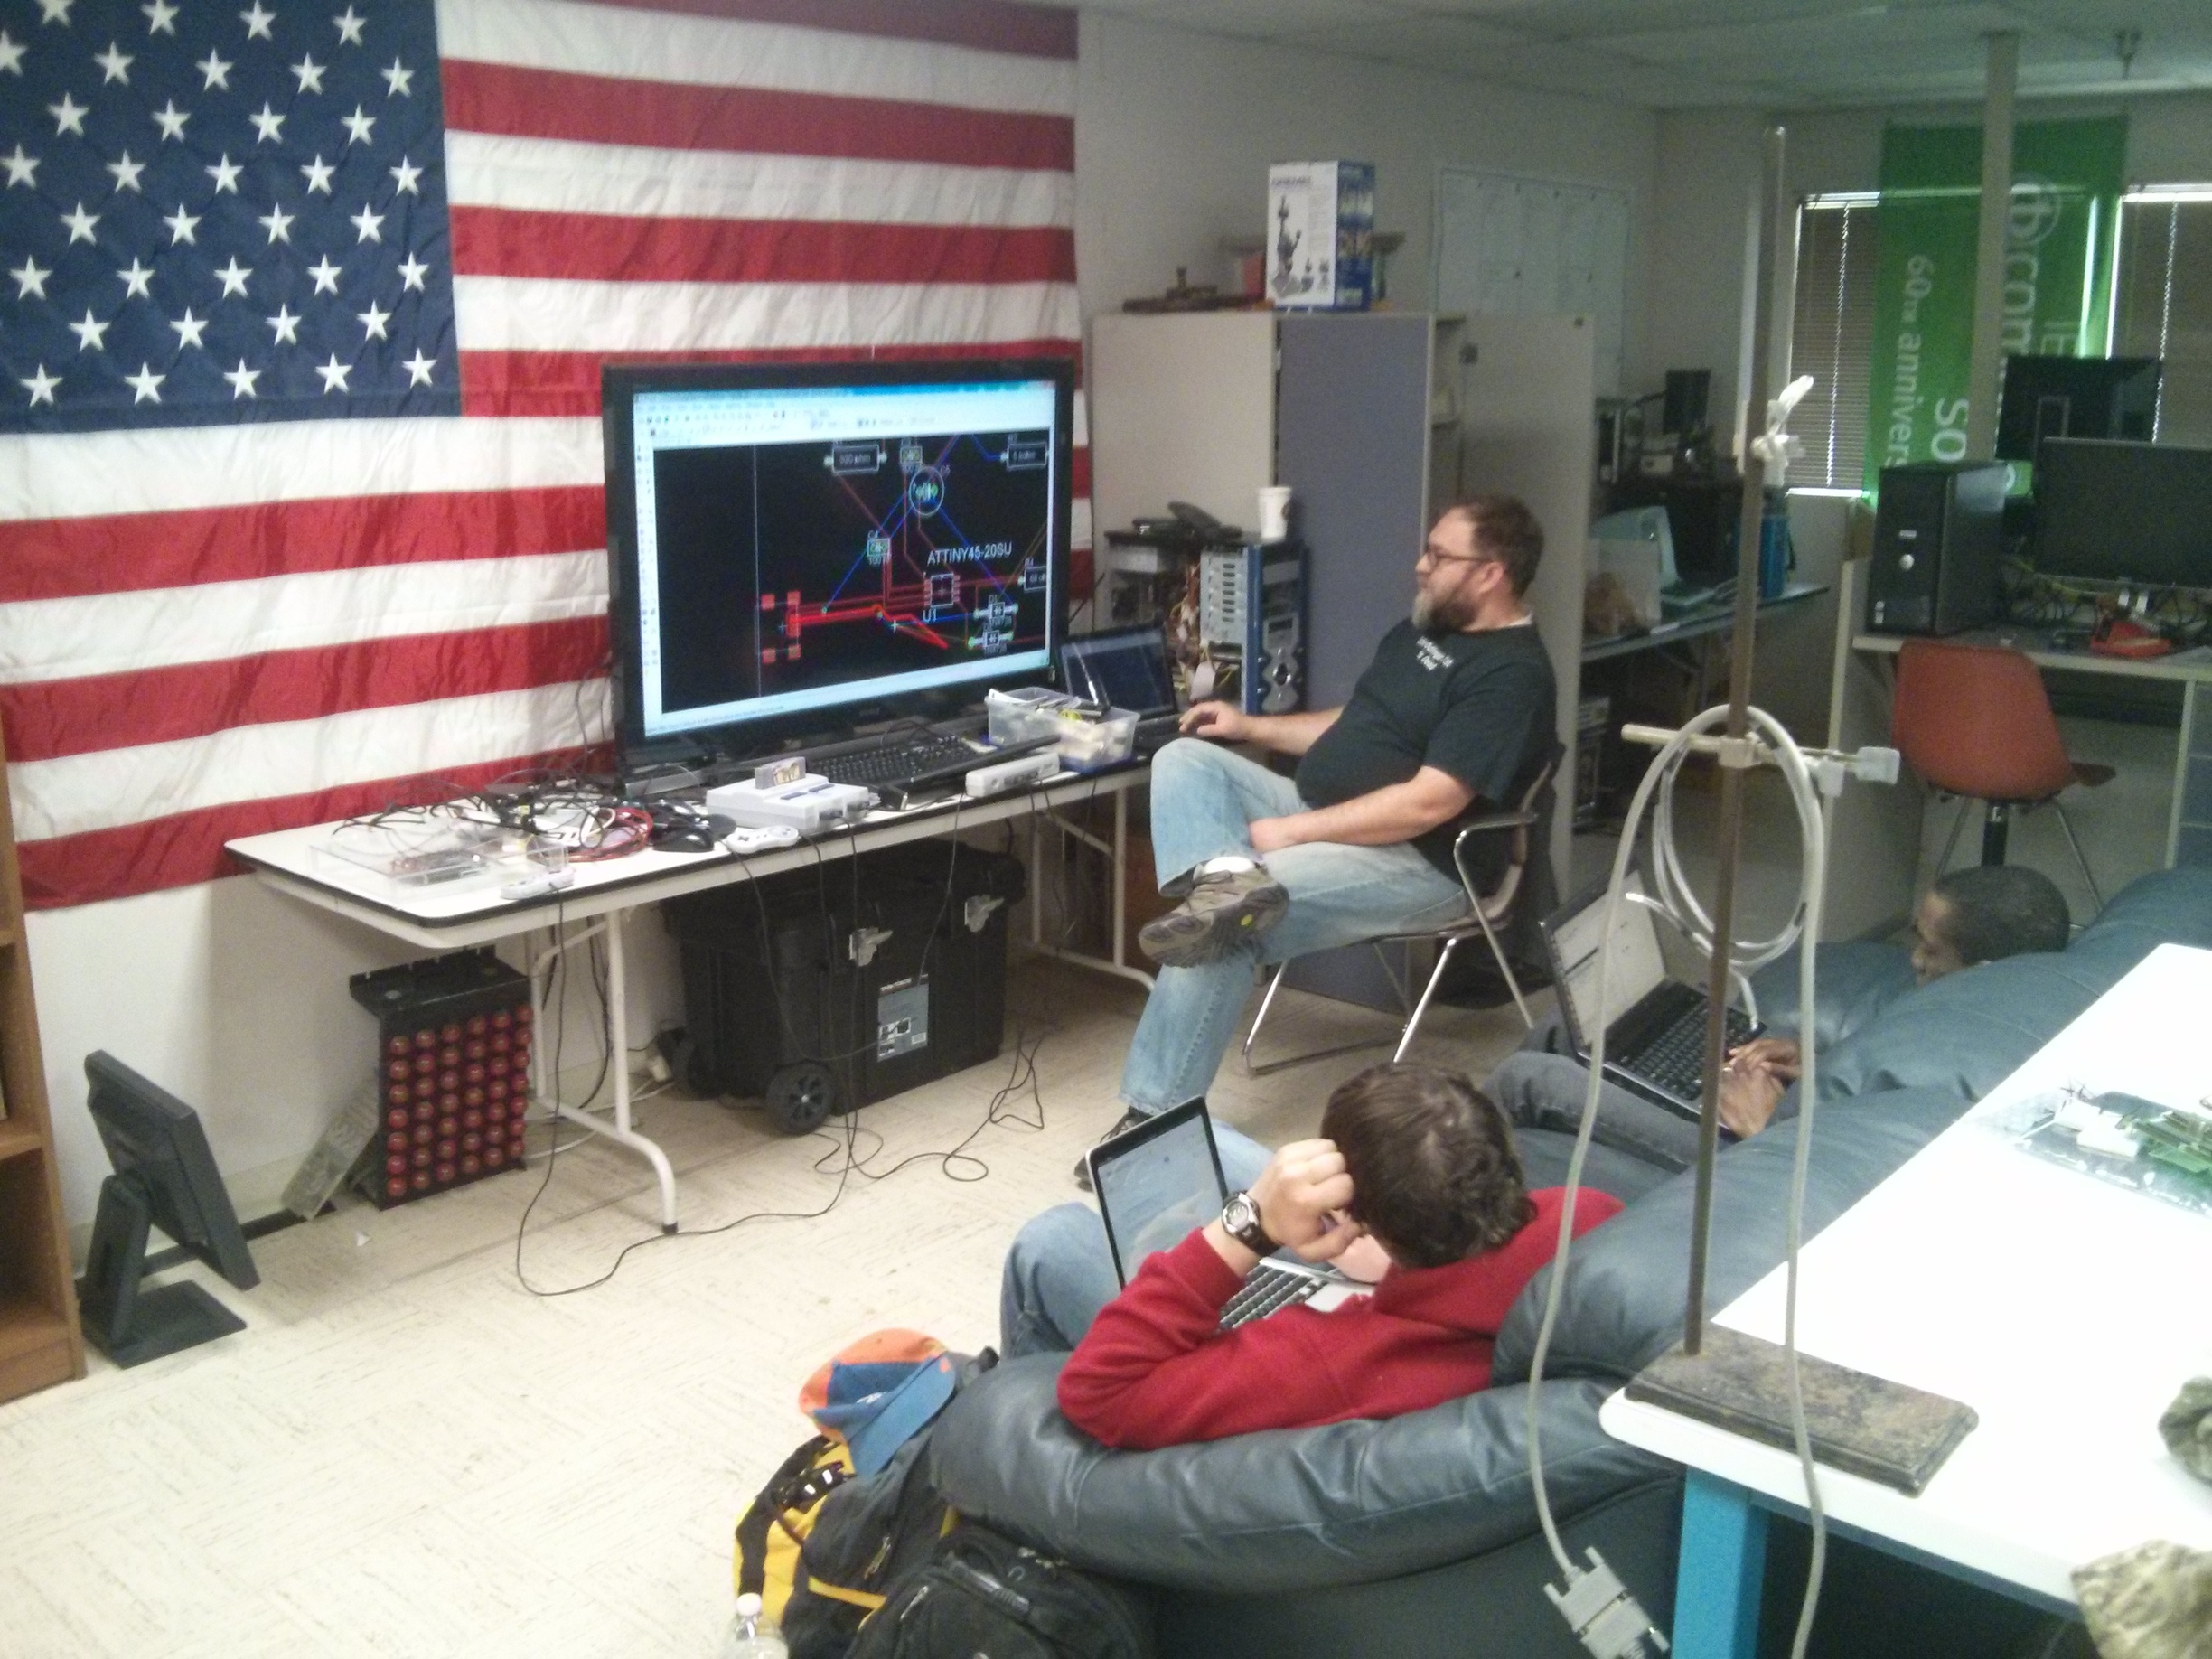
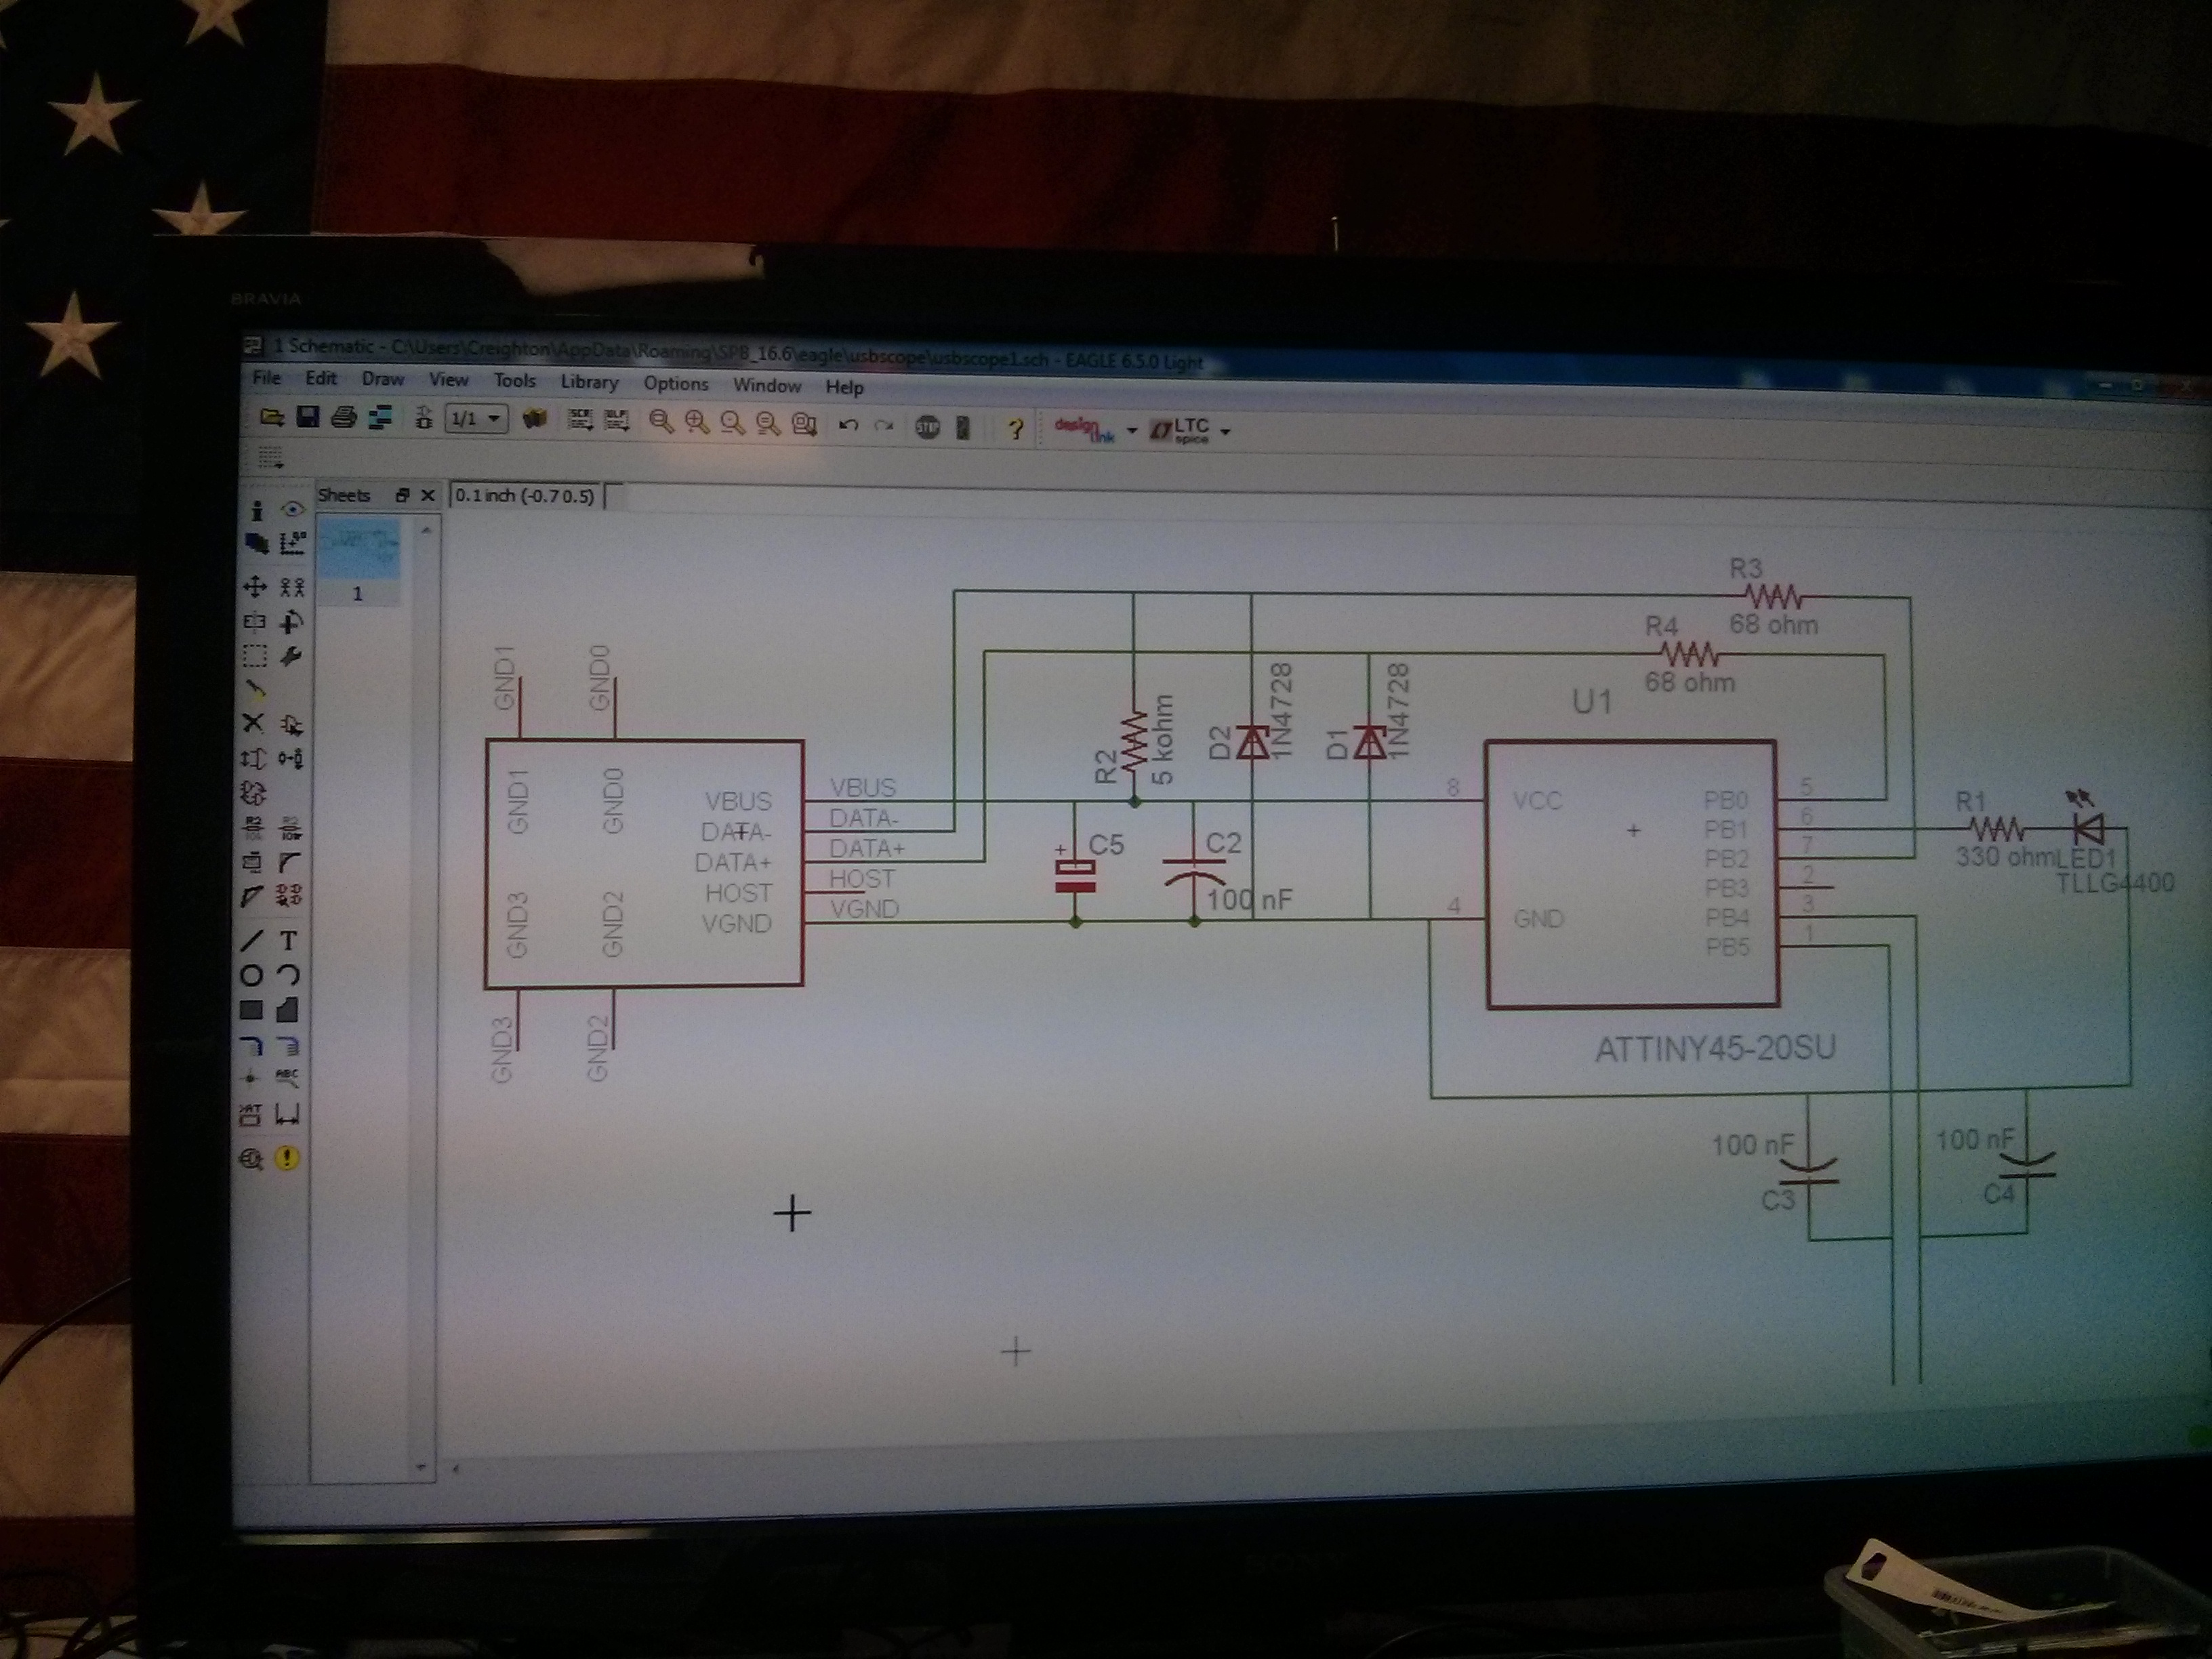
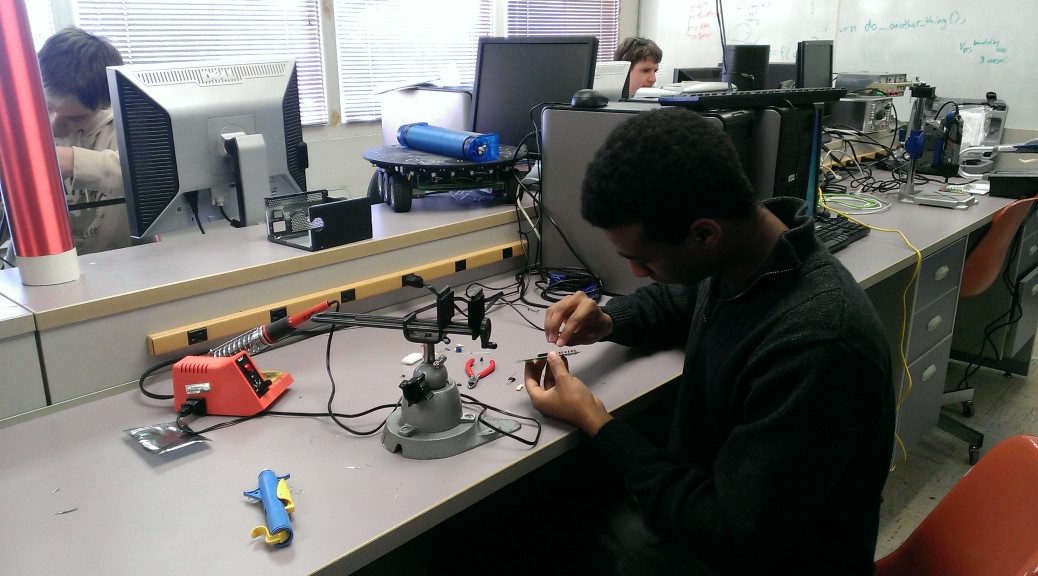
Creighton Glenn is putting on a prototyping workshop. The goal is to create a small USB oscilloscope from start to finish. It starts with designing a printed circuit board, creating it, wiring and soldering the parts, and finishes with testing.
If you want to participate, it isn’t too late. There is a sign-up sheet on the Innovation Plaza banner in the ECE lobby. Supplies are limited , so come by and let Creighton know if you’d like to be a part of the workshop.
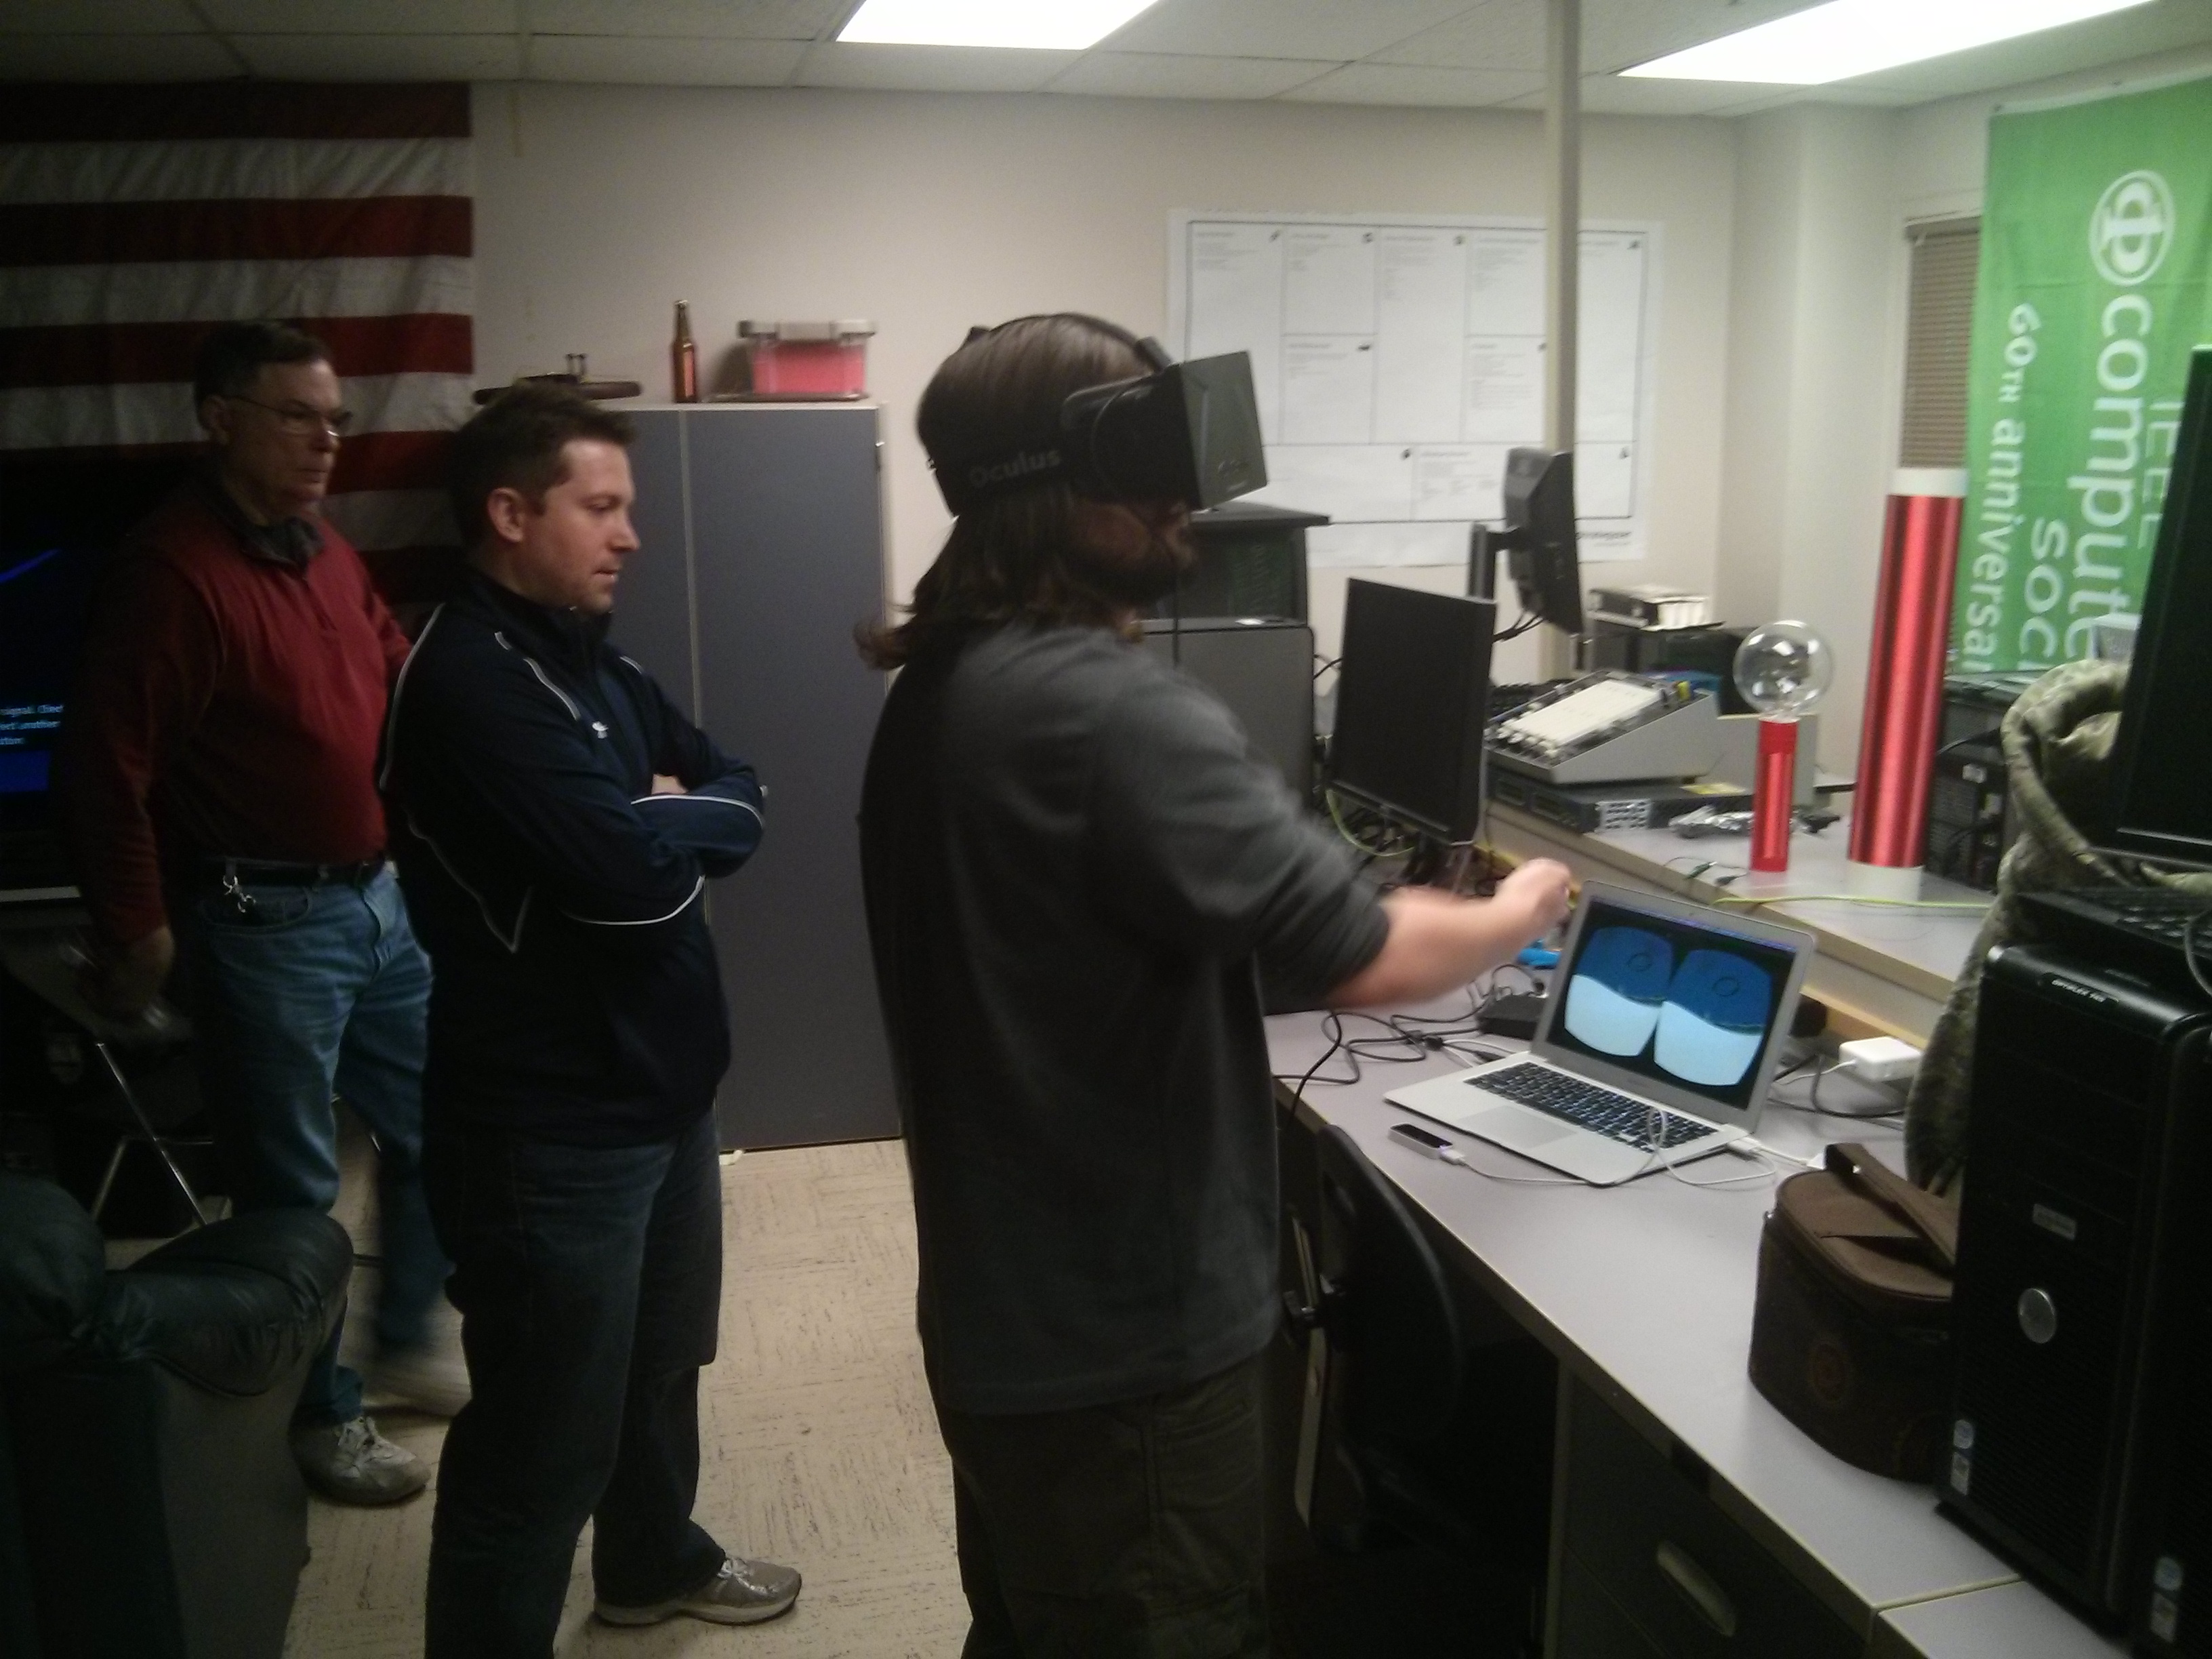
Steven Seppala tries out Occulus Rift with custom input device code written by John-Mark Collins.
Welcome to the new Innovation Plaza website. As the tagline suggests, the goal of Innovation Plaza is to help students put the theory they learn in their ECE classes to practice in a number of different ways.
The first requirement for getting help is knowing where to get it. We are located in Room 312 of the ECE building on UNM campus. Most of the time there is someone there who is happy to show you around and tell you about what we do. If the door is closed, knock. Don’t worry, we don’t mind and actually welcome visitors.
The next step is finding out what we do and how we can help you. We provide a place to work, tools, computers with engineering software, as well as tutoring and advice. We can also get you started taking an engineering project to market.
So please stop by and say “hi,” and we’ll give you a tour.